Backtrack User Guide
Everything you need to know about using Backtrack.
Installation
Download the Backtrack package from the official website via your provided link in your email. Then open a terminal and navigate to the download location.
Run the following command to install Backtrack:
sudo dpkg -i path/to/deb/package.deb
Running Backtrack
Launch Backtrack from your installed applications:
The Backtrack icon.
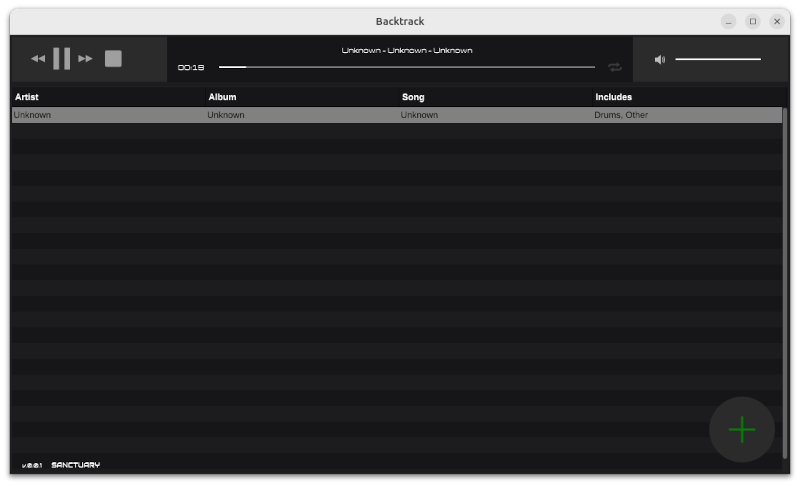
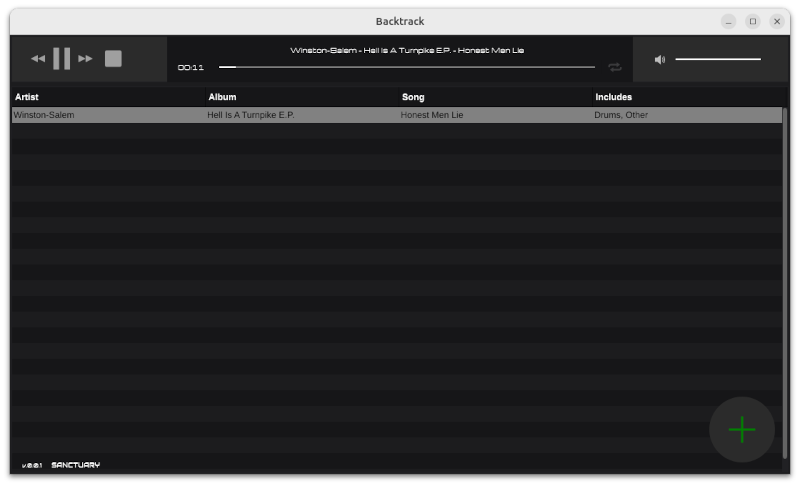
You'll then see the backing track library displayed (initially empty):
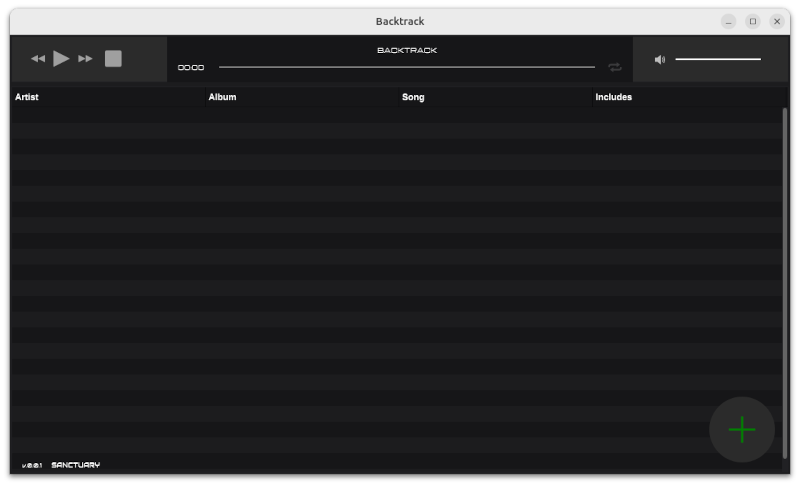
Backtrack library interface.
Features
Add a new backing track
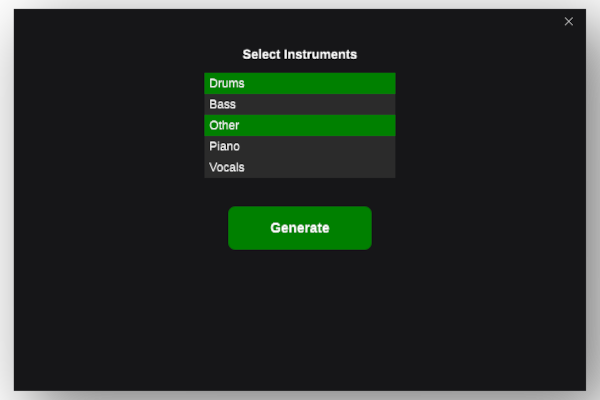
Click on the "+" button in the bottom left hand corner. Then select the audio file (Wav files are supported currently) you want to use as the master track.
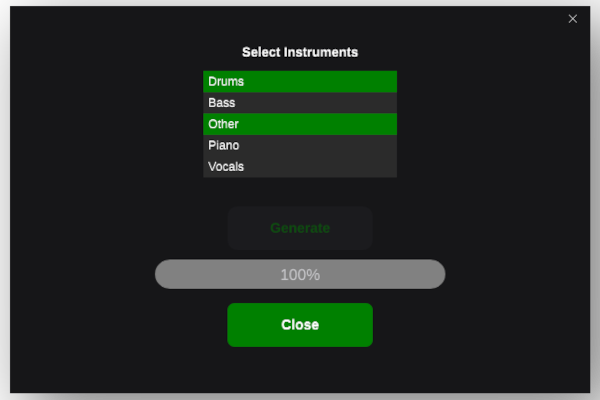
You'll then see a dialog box to configure the instruments you require to be part of the generated backing track:
Click the generate button and a progress bar will be displayed:
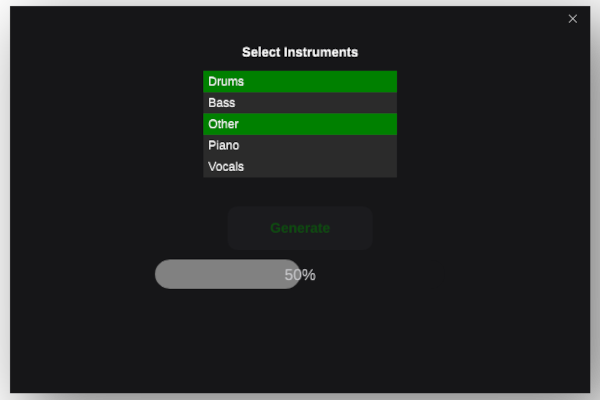
Once completed, click Close.
You'll now see a backing track displayed in your library.
Backtrack attempts to determine the track artist, album, and name using metadata from the master track audio file. But don't worry, you can easily rename if needed.
Play your backing track
Click the "Play" button in the toolbar to start playback. Use the transport controls to pause, stop, or navigate through the track. You should hear a track that is composed of only those instruments you have selected.
Edit your track
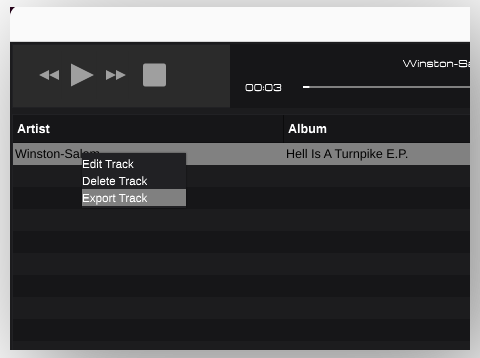
To rename your generated track, right click and the context menu will be displayed:
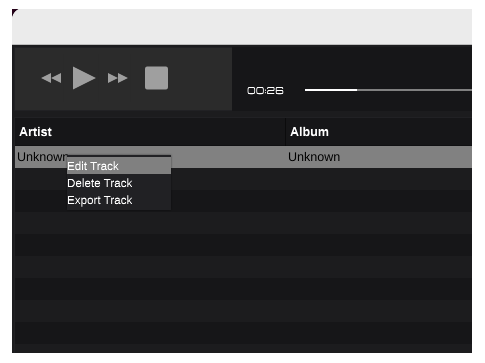
Select "Edit Track" and the edit dialog will be displayed:
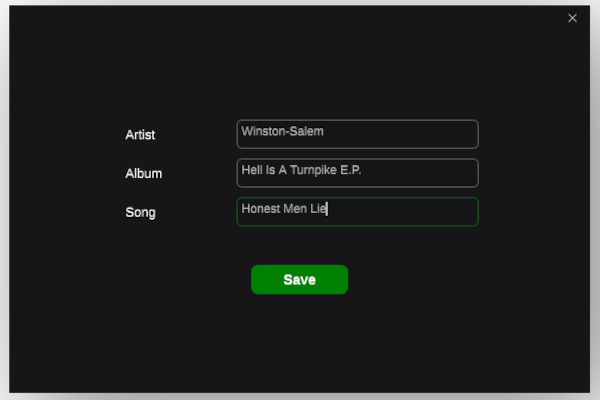
Update the fields as required and click "Save". Your updated track information will be shown in the library:
Export a track
If you want to play your generated track in another audio app, right click and select "Export Track":
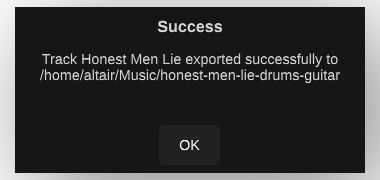
A file dialog will be displayed where you can enter your required name and folder to export to. Note that currently only Wav files are supported. Other formats will be supported in future releases. Once exported a confirmation dialog is displayed:
Delete a track
Select the backing track you want to delete in the library. Right-click and choose "Delete Track" from the context menu.